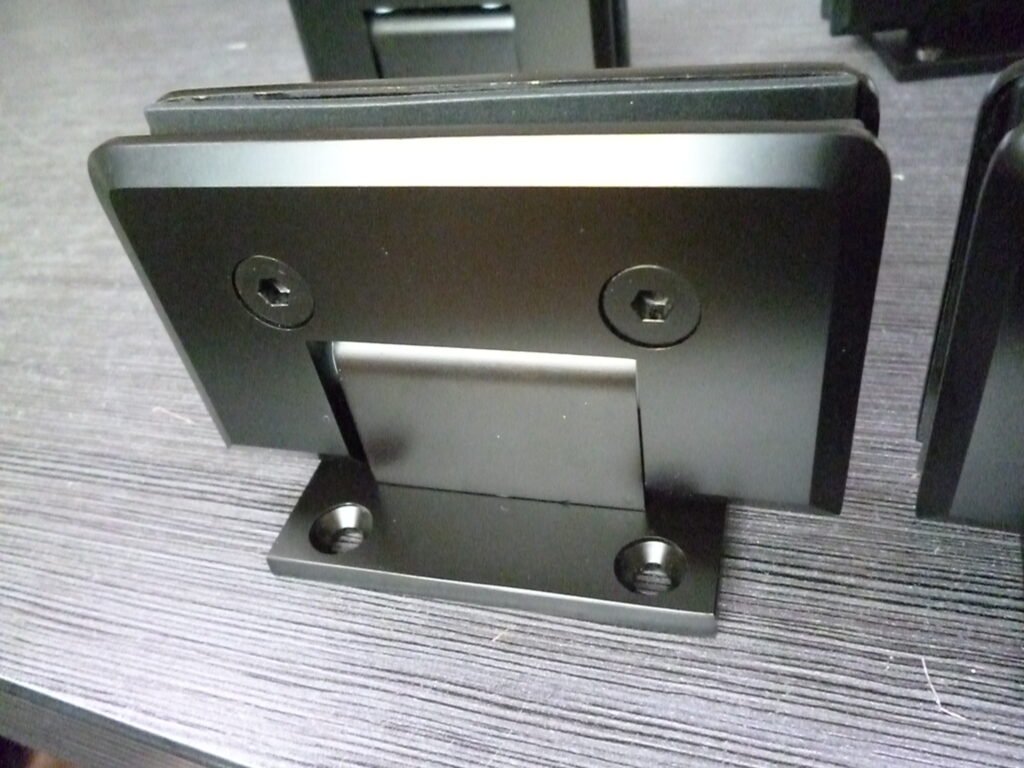
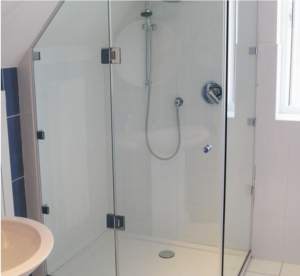
Shower hinges may seem like a small component of your bathroom, but they play a crucial role in ensuring the smooth operation and longevity of your shower doors. Whether you’re installing new hinges or maintaining existing ones, understanding the process can save you time, money, and frustration. This guide will walk you through the steps to install and maintain shower hinges effectively, ensuring your shower remains functional and stylish for years to come.

Why Shower Hinges Matter
Before diving into the installation and maintenance process, it’s essential to understand why shower hinges are so important. Shower hinges are the pivot points that allow your shower door to swing open and closed smoothly. They bear the weight of the door and are subject to constant movement, moisture, and temperature changes. Over time, hinges can wear out, leading to misalignment, squeaking, or even complete failure. Proper installation and regular maintenance can prevent these issues, ensuring your shower door operates seamlessly.
Tools and Materials Needed
Before you begin, gather the necessary tools and materials:
- Shower hinge kit (includes hinges, screws, and any necessary hardware)
- Screwdriver (Phillips or flathead, depending on the screws)
- Drill (with appropriate drill bits)
- Level
- Measuring tape
- Pencil (for marking)
- Silicone sealant (waterproof)
- Cleaning cloth
- Lubricant (silicone-based is ideal for showers)
- Safety goggles (to protect your eyes during drilling)
Step-by-Step Guide to Installing Shower Hinges
1. Preparation
- Measure and Mark: Start by measuring the height at which you want to install the hinges. Use a level to ensure the marks are straight. Mark the positions where the screws will go with a pencil.
- Check the Door Alignment: Before drilling any holes, hold the door in place to ensure it aligns correctly with the shower frame. Adjust the marks if necessary.
2. Drilling Holes
- Drill Pilot Holes: Using a drill, create pilot holes at the marked positions. Pilot holes prevent the wood or metal from splitting and make it easier to insert the screws.
- Attach the Hinges: Place the hinges over the pilot holes and secure them with screws. Ensure the hinges are tightly fastened but avoid over-tightening, which can strip the screws or damage the hinge.
3. Mounting the Door
- Attach the Door to the Hinges: With the hinges securely in place, lift the shower door and align it with the hinges. Secure the door to the hinges using the provided screws.
- Check for Smooth Operation: Open and close the door several times to ensure it swings smoothly without any resistance. If the door is misaligned, adjust the hinges accordingly.
4. Sealing and Finishing
- Apply Silicone Sealant: To prevent water from seeping behind the hinges, apply a small amount of silicone sealant around the edges of the hinges. This step is crucial for maintaining the integrity of your shower enclosure.
- Clean Up: Wipe away any excess sealant with a damp cloth and allow it to dry completely before using the shower.
Maintaining Your Shower Hinges
Proper maintenance is key to extending the life of your shower hinges. Here are some tips to keep them in top condition:
1. Regular Cleaning
- Remove Soap Scum and Hard Water Stains: Over time, soap scum and hard water stains can build up on the hinges, causing them to stiffen or corrode. Use a mild cleaner and a soft cloth to clean the hinges regularly. Avoid abrasive cleaners that can damage the finish.
- Dry the Hinges: After each shower, wipe down the hinges with a dry cloth to prevent water from sitting on the metal, which can lead to rust.
2. Lubrication
- Apply Lubricant: Every few months, apply a silicone-based lubricant to the hinges. This will keep them moving smoothly and prevent squeaking. Avoid using oil-based lubricants, as they can attract dirt and grime.
- Check for Wear: While lubricating, inspect the hinges for any signs of wear or damage. If you notice any issues, address them promptly to prevent further damage.
3. Tightening Screws
- Regularly Check Screws: Over time, the screws that hold the hinges in place can loosen due to the constant movement of the door. Periodically check the screws and tighten them if necessary.
- Replace Worn Screws: If you find that the screws are stripped or no longer hold securely, replace them with new ones of the same size and type.
4. Addressing Common Issues
- Squeaky Hinges: If your hinges start to squeak, it’s a sign that they need lubrication. Apply a silicone-based lubricant and work the door back and forth to distribute the lubricant evenly.
- Misaligned Door: If the door is not closing properly, the hinges may need adjustment. Loosen the screws slightly, adjust the position of the door, and then retighten the screws.
- Rust or Corrosion: If you notice rust on the hinges, remove it with a rust remover and then apply a protective coating to prevent future corrosion. In severe cases, you may need to replace the hinges.

When to Replace Shower Hinges
Despite your best efforts, there may come a time when your shower hinges need to be replaced. Here are some signs that it’s time for new hinges:
- Excessive Wear: If the hinges are visibly worn or damaged, they may no longer function correctly.
- Persistent Misalignment: If the door continues to misalign despite adjustments, the hinges may be beyond repair.
- Rust or Corrosion: Severe rust or corrosion can compromise the integrity of the hinges, making replacement necessary.
- Difficulty Opening or Closing: If the door is hard to open or close, even after lubrication, the hinges may need to be replaced.
Conclusion
Installing and maintaining shower hinges may seem like a daunting task, but with the right tools and knowledge, it can be a straightforward process. Proper installation ensures that your shower door operates smoothly, while regular maintenance can extend the life of your hinges and prevent common issues like squeaking, misalignment, and rust. By following the steps outlined in this guide, you can keep your shower hinges in excellent condition, ensuring a functional and stylish bathroom for years to come.
Remember, the key to successful hinge maintenance is consistency. Regular cleaning, lubrication, and inspection can prevent minor issues from becoming major problems. And when the time comes to replace your hinges, don’t hesitate—new hinges can restore the functionality and appearance of your shower door, making your bathroom a more enjoyable space.
So, whether you’re a DIY enthusiast or a homeowner looking to save on repair costs, taking the time to install and maintain your shower hinges properly is a worthwhile investment. Your shower—and your sanity—will thank you!


